Today, let’s dive into the art of cooking Japanese rice to perfection. Cooking rice may seem simple, but achieving that ideal fluffy texture with just the right amount of stickiness can be a true culinary challenge. From selecting the perfect type of rice to mastering the precise water measurements, each step plays a crucial role in creating a delicious bowl of rice that will complement any meal. So, grab your rice cooker or pot, and let’s explore the basics of cooking Japanese rice together. Let’s make sure your next rice dish is a masterpiece that will have everyone coming back for seconds!
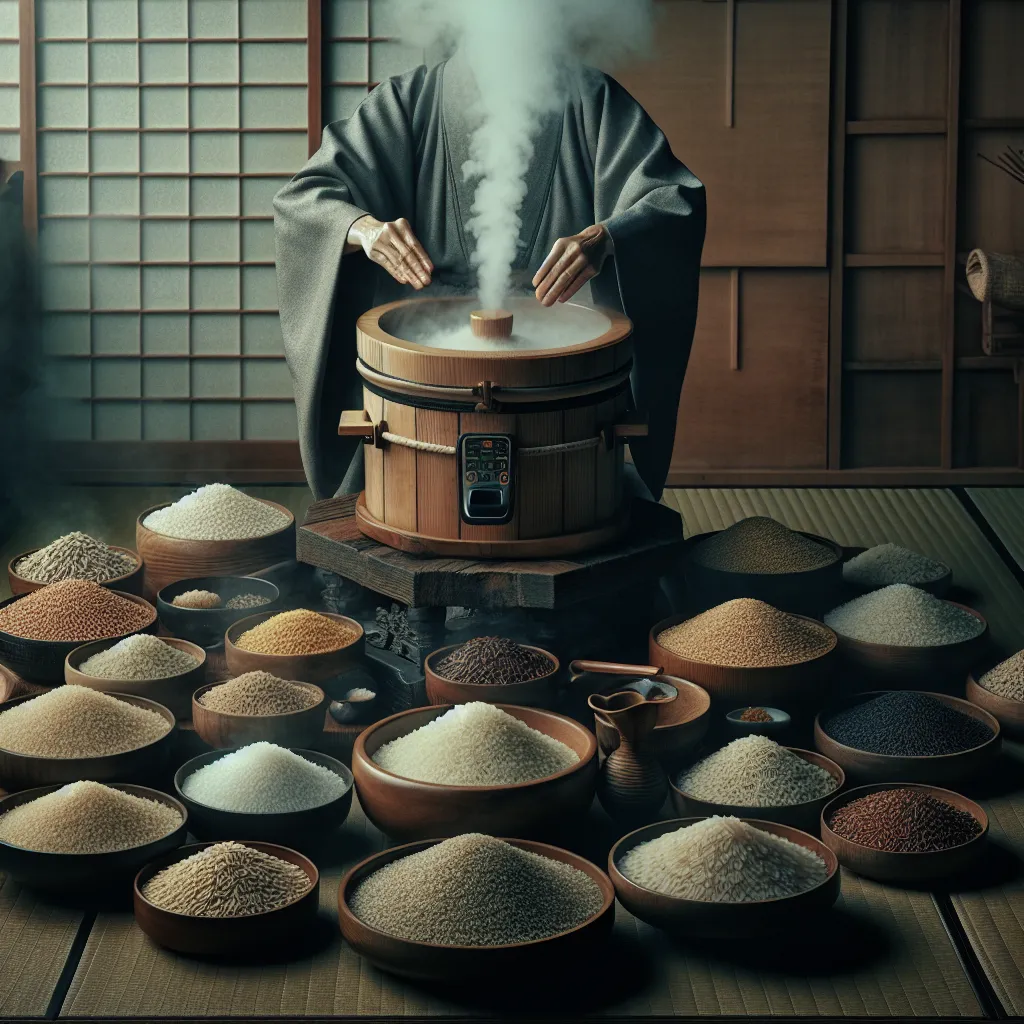
Selecting the Right Type of Rice
Hey there, rice lovers! Today, let’s dive into the wonderful world of Japanese rice and learn how to select the perfect type for your culinary creations. When it comes to Japanese cuisine, rice is the heart and soul of many dishes, so choosing the right type is crucial for achieving that authentic taste and texture that we all crave.
Short-Grain Japonica Rice
One of the most popular varieties of rice used in Japanese cooking is short-grain Japonica rice. This type of rice is known for its slightly sticky texture, making it ideal for dishes like sushi, onigiri, and rice bowls. Short-grain Japonica rice is also rich in amylopectin, a type of starch that gives the rice its characteristic glossy appearance and helps it stick together when molded into shapes.
Medium-Grain Japonica Rice
If you’re looking for a rice variety that is a bit more versatile and less sticky, medium-grain Japonica rice is a fantastic option. This type of rice is commonly used in dishes like donburi (rice bowls with toppings) and chirashizushi (scattered sushi). Medium-grain Japonica rice has a balanced texture that holds together well while still offering a slightly separate, fluffy quality.
Long-Grain Indica Rice
For those who prefer a lighter and fluffier rice, long-grain Indica rice may be the way to go. While not as commonly used in traditional Japanese dishes, long-grain Indica rice is perfect for recipes where you want distinct, separate grains, such as fried rice or pilaf. This type of rice has a lower amylopectin content compared to short-grain Japonica rice, resulting in a drier and more separate texture when cooked.
Rice Polishing Ratio
When selecting the right type of rice for your Japanese cooking adventures, it’s essential to consider the rice polishing ratio. This ratio indicates how much of the outer bran layer has been removed from the rice grain. The higher the polishing ratio, the more polished and refined the rice will be, resulting in a softer texture and quicker cooking time. On the other hand, rice with a lower polishing ratio will have more nutrients and a chewier texture.
So, whether you’re craving a sticky sushi rice, a fluffy bowl of donburi, or a light and airy fried rice, choosing the right type of rice is key to achieving that perfect Japanese dish. Experiment with different varieties and polishing ratios to discover your favorite and elevate your culinary creations to new heights! 🍚✨
Measuring the Water Correctly
Hey there, rice lovers! Today, let’s dive into the art of cooking Japanese rice to perfection by focusing on one crucial step: measuring the water correctly. Getting the water-to-rice ratio just right is the key to achieving that fluffy, tender texture that we all love. So, let’s break it down step by step!
First things first
Grab your trusty rice cooker or a pot with a tight-fitting lid. For every cup of Japanese rice, you’ll typically need about 1 1/4 cups of water. This ratio may vary slightly depending on the type of rice you’re using, so always check the package instructions for the best results.
Now, here’s a little tip for you – before adding the water, give the rice a quick rinse to remove any excess starch. This will help prevent the rice from becoming too sticky as it cooks. Once rinsed, add the rice to your cooking vessel and level it out evenly.
Next, it’s time to add the water. Carefully pour in the measured amount of water over the rice, making sure to distribute it as evenly as possible. You can even give the pot a gentle shake to help settle the rice into an even layer.
Once the water is in, resist the urge to stir the rice. Let it be and allow the magic to happen as the rice cooker or pot does its job. The steam generated from the water will gradually be absorbed by the rice, resulting in perfectly cooked grains.
As the rice cooks, you may notice the tantalizing aroma wafting through your kitchen – that’s when you know something delicious is on the way! When the cooking cycle is complete, let the rice sit for a few minutes to steam and finish cooking off the heat.
And there you have it – a simple guide to measuring the water correctly when cooking Japanese rice. Remember, practice makes perfect, so don’t be afraid to experiment with different water-to-rice ratios to find your ideal texture. Happy cooking, and enjoy your fluffy bowl of rice! 🍚🌟
Rinsing and Preparing the Rice
Hey there, rice enthusiasts! Today, we’re diving into the essential steps of cooking Japanese rice to absolute perfection. And it all starts with rinsing and preparing the rice just right! 🍚✨
Choosing the Right Rice
First things first, let’s talk about the rice itself. When it comes to Japanese rice, you want to choose a high-quality short-grain variety like Japonica rice. This type of rice is known for its sticky texture and sweet flavor, making it perfect for sushi, rice balls, or a simple bowl of steamed rice.
The Rinsing Process
Now, onto the rinsing process. Rinse the rice under cold water in a fine-mesh strainer to remove excess starch. This step is crucial to ensure that your cooked rice turns out fluffy and not overly sticky. Keep rinsing and gently swishing the rice with your fingers until the water runs clear. This can take anywhere from 3 to 5 rinses, depending on the rice variety.
Soaking the Rice
Once the rice is thoroughly rinsed, it’s time to soak it. Place the rinsed rice in a bowl and cover it with water. Let it soak for about 30 minutes to allow the grains to absorb moisture evenly. This soaking process is key to achieving perfectly cooked rice with a tender texture.
Draining the Rice
After soaking, it’s time to drain the rice. Use a fine-mesh strainer to drain the rice and remove any excess water. Be sure to let it drain for about 10-15 minutes to ensure that there is no residual moisture left.
Now, you’re all set to cook the rice! Whether you’re using a rice cooker or a pot on the stove, following these rinsing and preparation steps will set you on the path to rice-cooking success. Stay tuned for the next steps in our journey to mastering the art of cooking Japanese rice! 🌟🍙
Remember, the key to perfect Japanese rice lies in the details of rinsing and preparing the rice just right. So take your time, enjoy the process, and get ready to savor every delicious grain of rice in your next meal! 🍚👩🍳
Cooking and Resting for Optimal Results
Cooking Process
First things first, choosing the right type of rice is essential. Japanese short-grain rice, known for its sticky texture and sweet flavor, is the go-to choice for many rice enthusiasts. Rinse the rice thoroughly to remove excess starch, which can make the rice too sticky or mushy. The ideal ratio of water to rice is around 1:1, but this can vary depending on the type of rice and your personal preference.
Once you’ve rinsed the rice and added the water, it’s time to let the magic happen. Bring the water to a boil, then reduce the heat to low and let the rice simmer gently. Cover the pot with a tight-fitting lid to trap the steam and ensure even cooking. Avoid the temptation to lift the lid and peek at the rice – let it work its magic undisturbed.
Resting Period
After the rice has finished cooking, it’s time for the all-important resting period. This step is often overlooked but is crucial for achieving the perfect texture and flavor. When the rice is done cooking, turn off the heat and let it sit, covered, for about 10-15 minutes. During this resting period, the rice continues to steam and absorb any remaining moisture, resulting in a perfectly fluffy texture.
Resist the urge to dig in right away – patience is key! Fluff the rice gently with a fork to separate the grains and release any excess steam. This simple step can make a world of difference in the final texture of your rice.
So there you have it, the basics of cooking Japanese rice to perfection. By mastering the cooking process and allowing the rice to rest properly, you can elevate your rice game to a whole new level. So go ahead, cook up a batch of delicious Japanese rice, and savor every fluffy, flavorful bite! 🍚👩🍳👨🍳
When it comes to cooking Japanese rice, attention to detail is key. From selecting the right type of rice to measuring the water correctly, rinsing and preparing the grains, to finally cooking and letting it rest for optimal results, each step plays a crucial role in achieving that perfect, fluffy texture and delicious taste. Remember, Japanese rice is more than just a side dish – it’s a staple that holds cultural significance and is deeply ingrained in the culinary traditions of Japan. So, take your time, follow these steps with care, and savor the rewarding experience of creating a bowl of Japanese rice that’s nothing short of perfection.